LS Pay for Business Central - Setup
In this article
Tender type to G/L account mapping
Prerequisites
- Business Central installed and set up.
- LS Pay Service installed and set up with at least one device.
- EFT Extension installed on the Business Central instance.
- LS Pay for BC installed on the Business Central instance.
Device setup
- First step is to find and open the EFT Device List page.
- When in the EFT Device List, press + New.
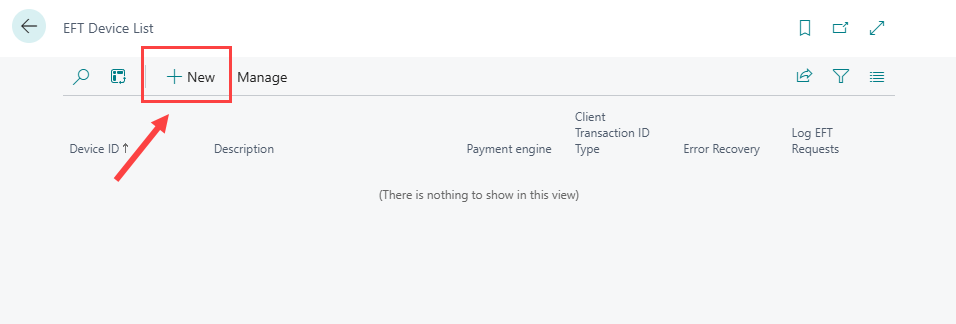
- Fill in the settings for your device.
| Field name | Description | Mandatory |
|---|---|---|
| Device ID |
Input the same id as the Connection ID field in the LS Pay Service Admin Portal. Note: Business Central automatically converts the string to uppercase, but the identifier is not case sensitive. |
Yes |
| Description | Device description for further device details | Yes |
| Currency Code | The currency code the device uses. | Yes |
| LS Pay Service Host | The host address of the LS Pay Service (default is localhost:5050). Note: Do not include http:// or https:// in this field and remove any trailing slashes. |
Yes |
| Connect using HTTPS | Indicates whether the LS Pay Service is running on https. | Yes |
| Client Transaction ID Type | Indicates the type of transaction ID the device uses. The default is a GUID. Adding different transaction ID types, requires customization. | No |

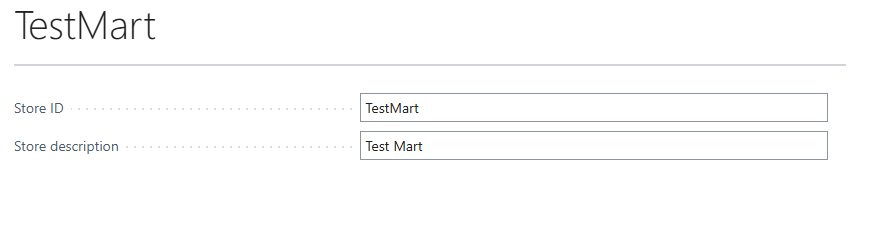
- Next step is to find and open the LS Pay Store Profiles page.

- Create a new store profile.
- Set the Store ID and Store description. The Store ID identifies the store location. For example, if there are multiple stores with the same name, such as Store ABC, in different locations, the Store ID for Store ABC in location X should be labeled as Store ABC X.
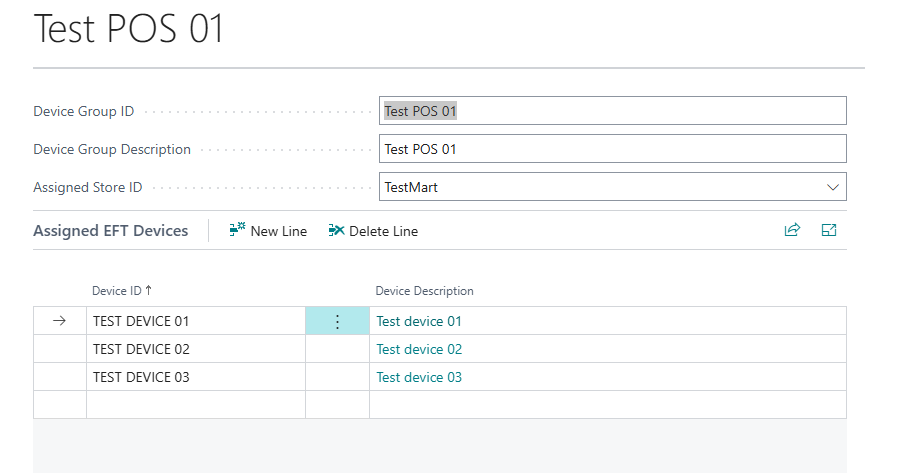
- Find and open the LS Pay Device Groups List
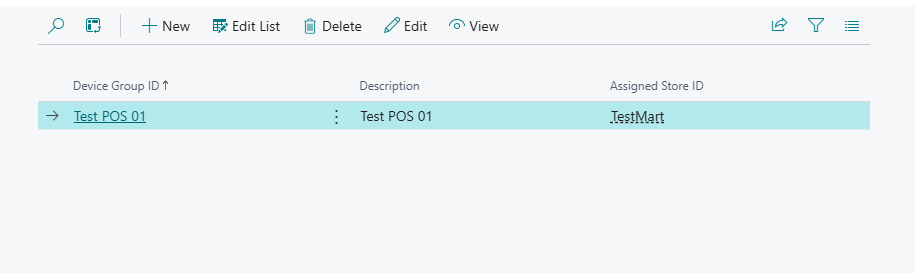
- Create a new device group profile. A device group should represent a group of EFT devices that are frequently used together to simplify assigning multiple devices to users.
- Assign the device group to the store it is located in and assign the devices for the group.
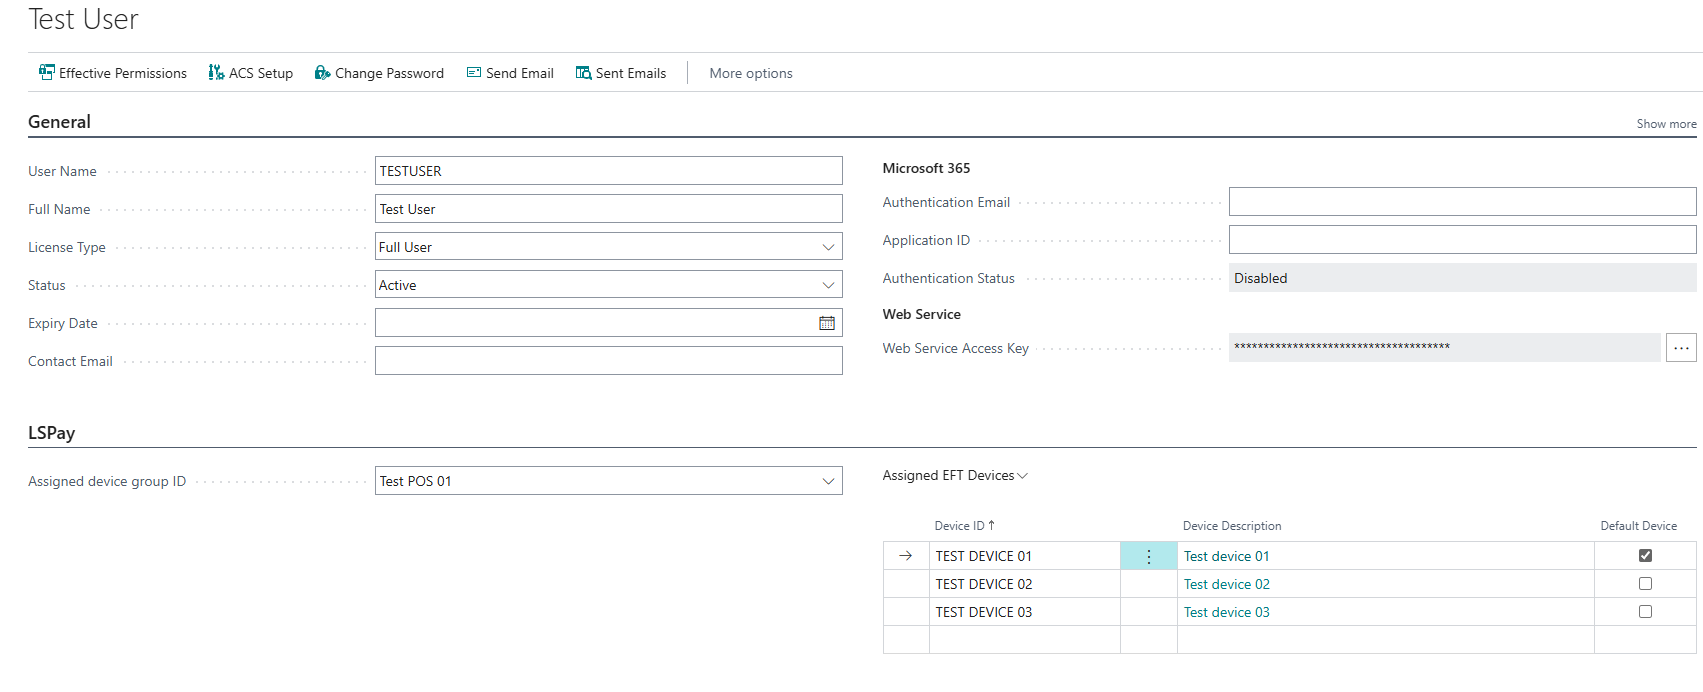
- Open the User Card of each user that will be using EFT devices, assign them to a device group and assign a default device for the user.
Tender type to G/L account mapping
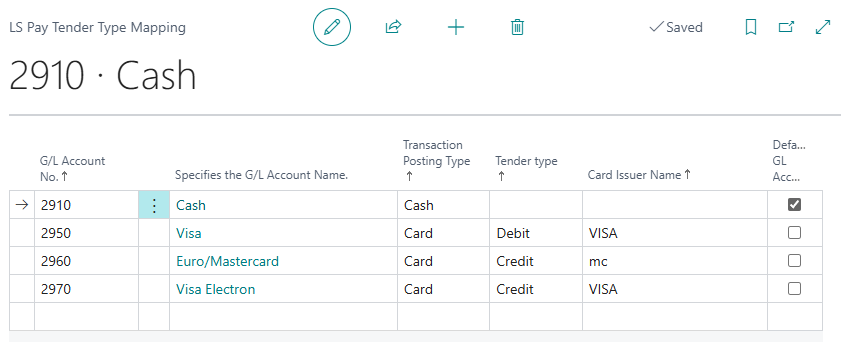
The next step is to set up at least one G/L account on the LS Pay Tender Type Mapping page.
- Add a new line to the list and select a G/L account.
- Select a Transaction Posting Type. The options are: Card, Cash and Cheque.
- If the G/L account is intended to have card transactions posted to it, make sure to set a Tender Type and Card Issuer Name.Tender Type: There is a limited list of possible values. Most common are:
- Unknown
- Credit
- Debit
- GiftCard
Card Issuer Name: The format of the Card Issuer Name differs between payment providers. For example some payment providers label MasterCard as mc. Your payment provider might have a list of card issuer names available. If not, all transactions have their card issuer name and tender type listed in the LS Pay Transaction Overview page which can then be used to improve G/L account mappings.
- Make sure one G/L account has "Default GL Account" checked. This G/L account acts as a fallback account if a transaction response does not match any of the available mappings. Example: In the following picture, if a transaction response has Tender Type Credit and Card Issuer Name American Express, none of the mappings currently set in the Tender Type Mapping page match. Since the Cash G/L Account is selected as default, the transaction are posted to the Cash account.